| HOME 2008 2009 |
|
 |
Below, are entries for my Blog/Diary. I will record my experimental work, quick sketching and maybe some venting. Click on the date tabs to expand the daily selection. |
Many Thanks to Darcia Prada, creator of Mercury Opera Fringe Theatre Company, for her vision and enthusiasm!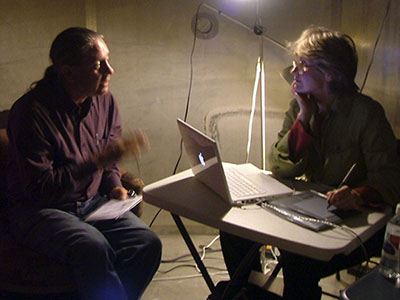
Last night, I loaded up my car with my iBook, tablet, printer, paper, folding tables, a 3-panel display screen, portfolios and a 4 foot sign and drove to the Amber's Brewery to paint Quick Portraits, giving 50% to Mercury Opera. To say I was nervous would be to understate but my determination overcame all setbacks (and with technology and innovation invariably come obstacles).
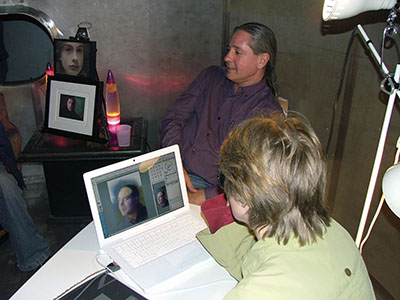
I was located inside a hug old stainless steel beer vat that reminded me of a small rocket ship. It was cozy but there was an alarming bounce when the floor buckled. Great fun when sampling beer but frustrating while trying to paint!
I wish I had a photo of my sign outside and my folding screen with 15 samples of previous Quick Portraits. I'd also like to add that although I was busy painting and talking to the curious, very likeable people who visited me in my silver rocket, I did manage to go out to hear the Oompah Band and the Mercury Opera perform some lovely chorus songs. It sounded surprisingly beautiful in that huge warehouse! I understand how opera became so popular before microphones.
My kind son took the photos. Muchos gracias to Mefr.net for technical assistance!
Here are the results of approximately 6 hours work!
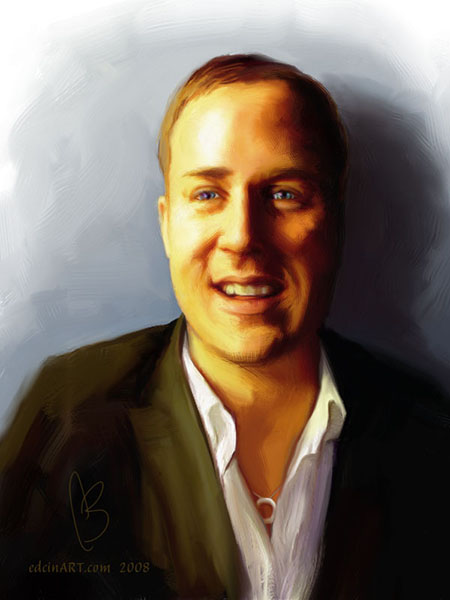
Thanks Ian for all your encouragement! You really helped me break the ice! You were my first "guinea pig" - I hope you like your painting! I worked from the photo below. 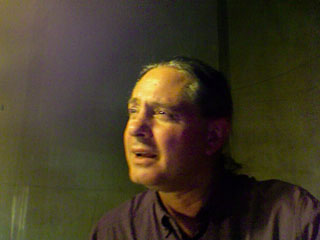
|
 |
|
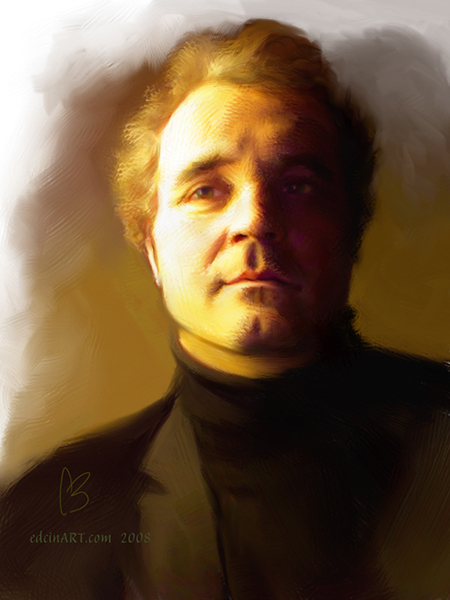
This handsome fellow was my next customer and by then I'd started to enjoy myself. I was thinking about doing this again after I sort out my giclee printer settings. Unfortunately I was unable to print on the spot. I guess I'm still "paying my dues". Below is Boris's photo and to the right, his painting. 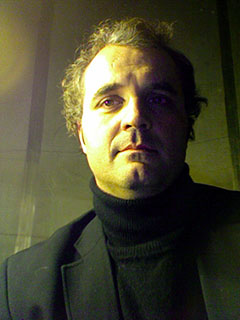 |
 |
|
Darrin was my next subject. A very effective facilitator I understand. Below, his photo and to the right what I made. Here, I confess, I got quite busy talking and did not actually paint Darrin at the event. I painted him the next day. 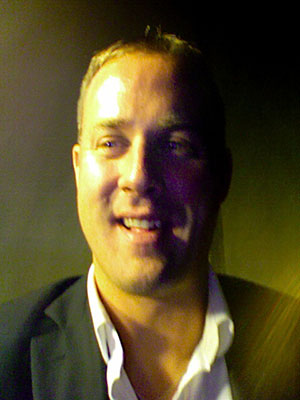 |
 |
|
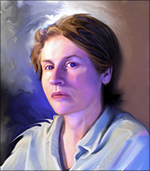
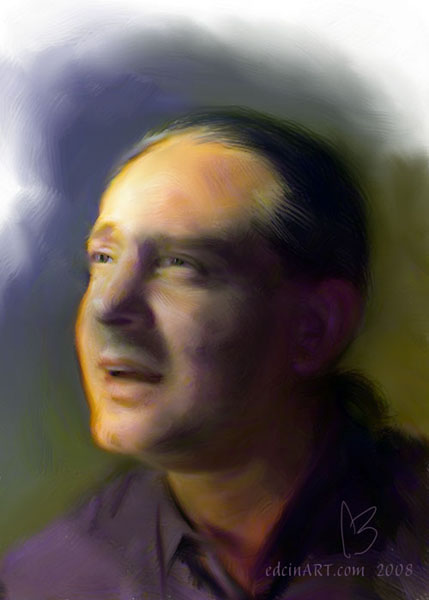
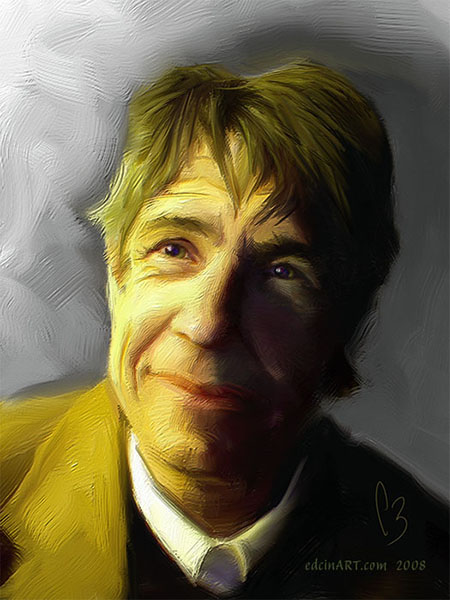
And finally, Marcus. I liked doing this one a lot and I think it's very good of this craggy face. Now the night is almost like I dreamed it I was that nervous. 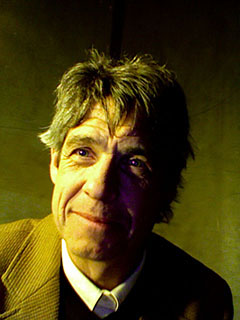 |
 |
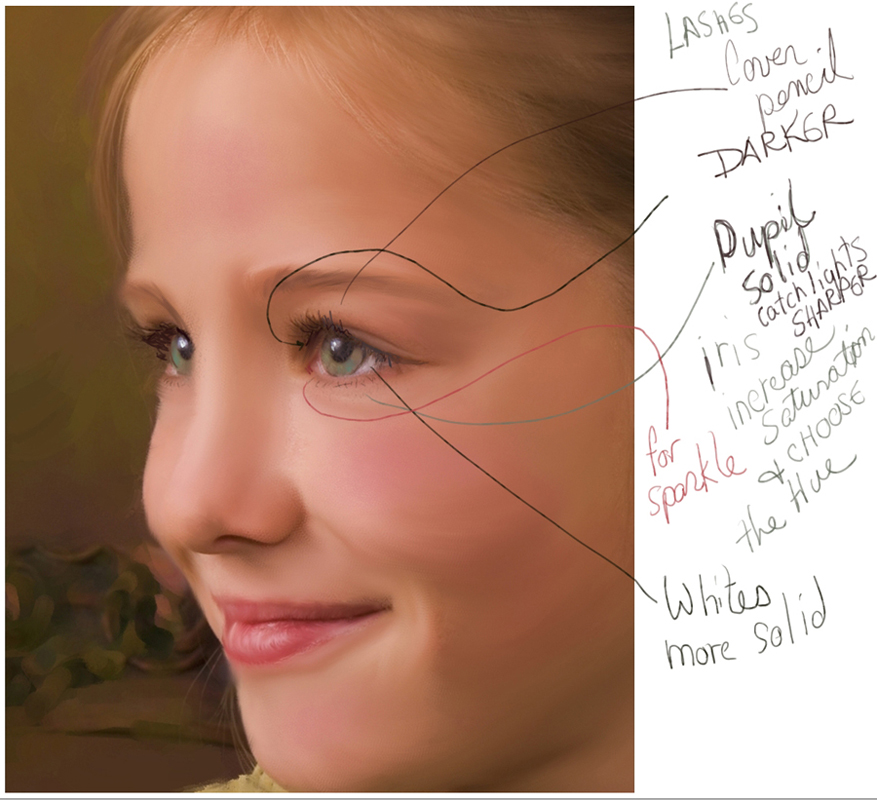
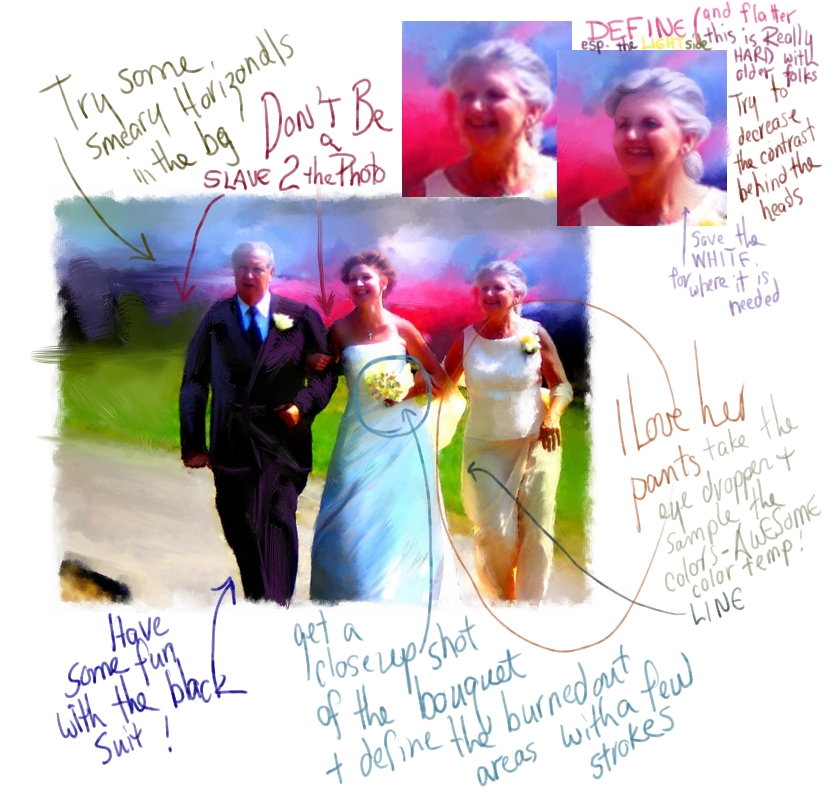
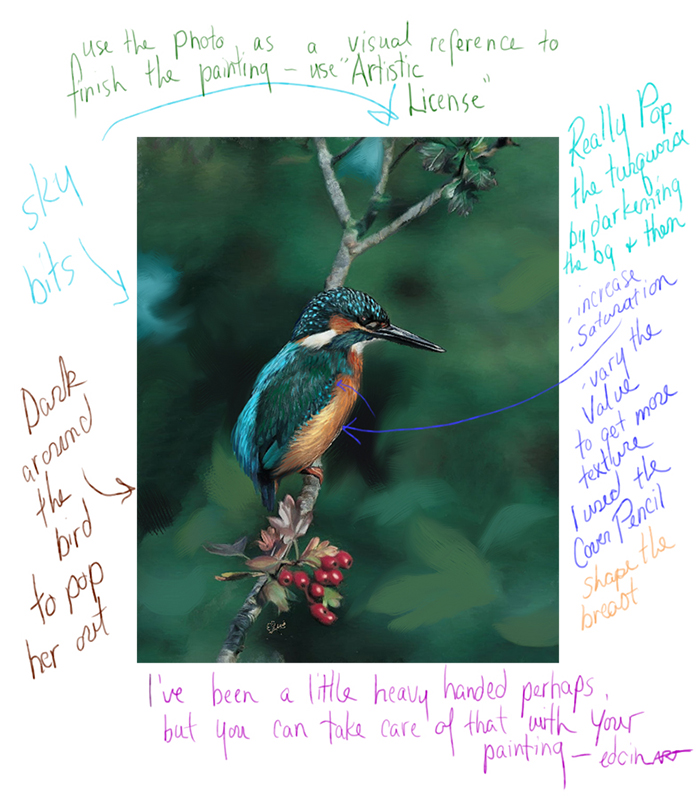
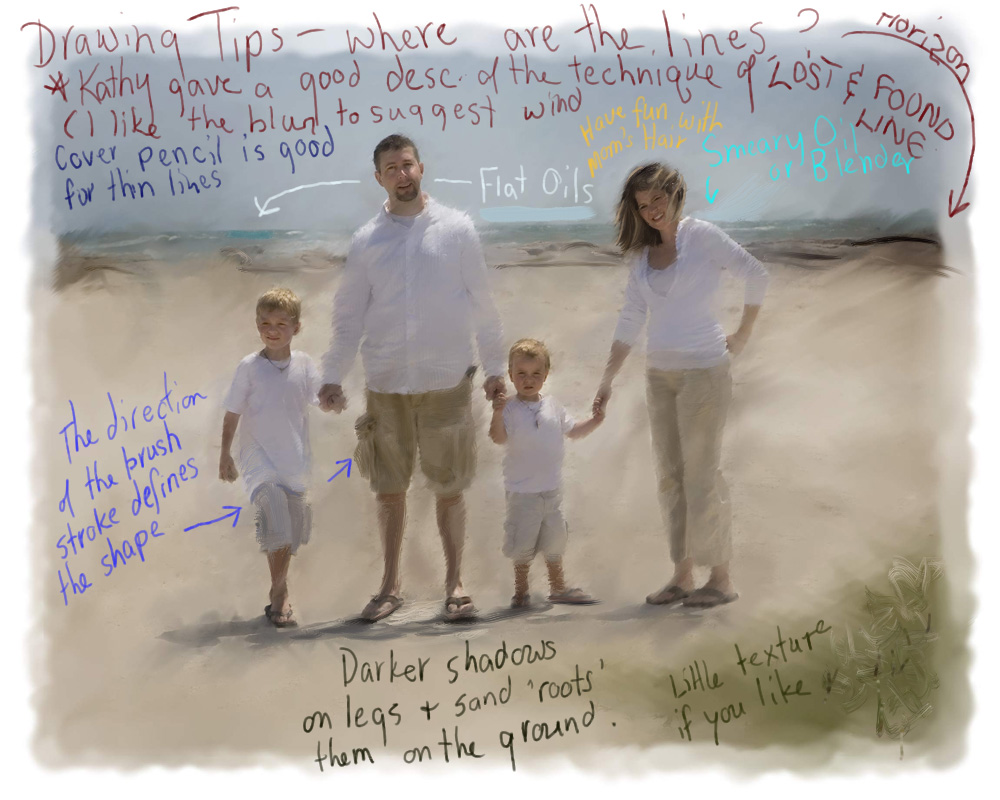
Here are some of my hopefully helpful tips and techniques which were posted in forums on Marilyn Sholin's very vigorously attended Digital Painting Forum. http://www.digitalpaintingforum.com These are some of my postings from paintings begun by other artists. They were offered up in a forum called Gallery Critique. Members can post their "works in progress" for other members to make suggestions to help take the painting to the next level. It is a real privilege to contribute and get advice from the wonderful artists that regularly visit and moderate the many forums in that site. |
|||||
|
|||||
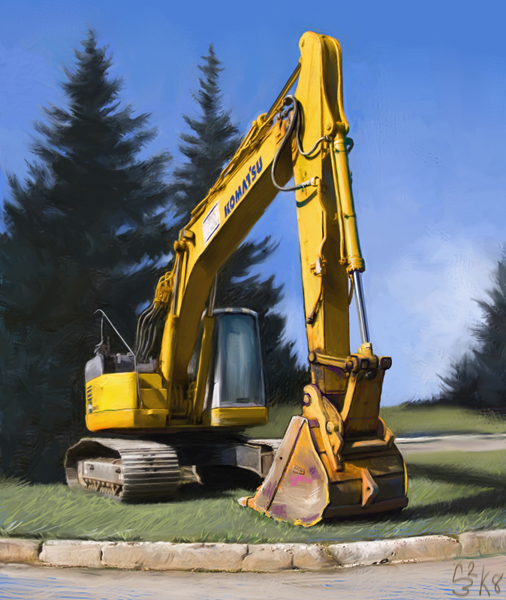
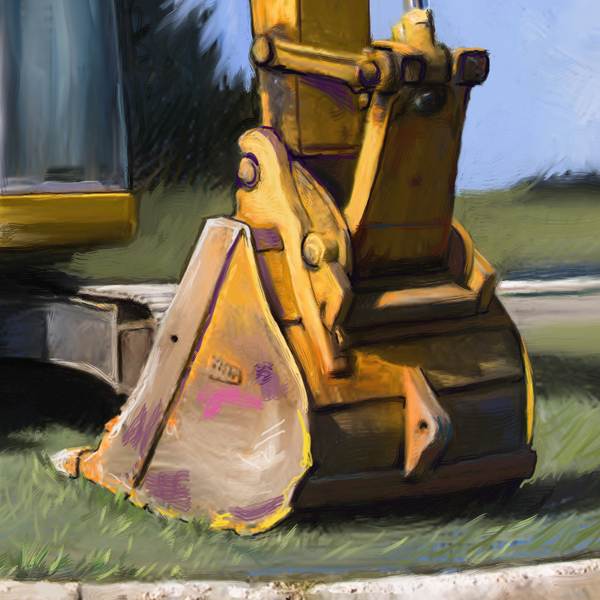
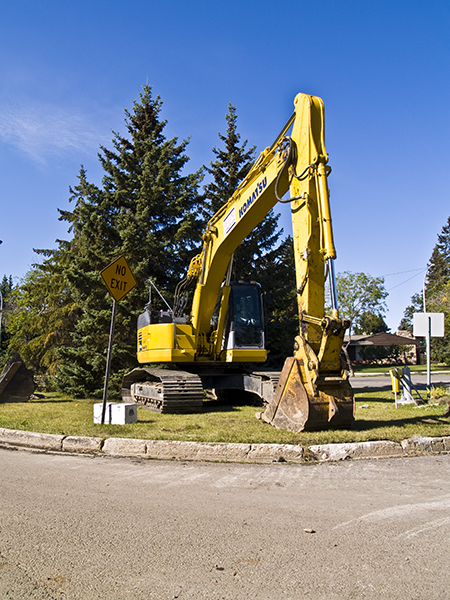
My study of line has lead me to study line vs. areas of colour. The foreground here uses line and area. The background uses area only. I am also seeking hidden colours especially in these yellow and black machines that have scratches and rust spots and other abusive marks . . .
 |
 |
 |
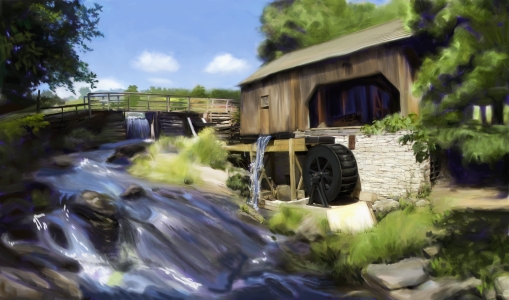
I am working on many things: expressive strokes that tell the story of the image; lost and found line to clarify the spacial order in the image; colour for everything but especially for 'artistic licence.
 |
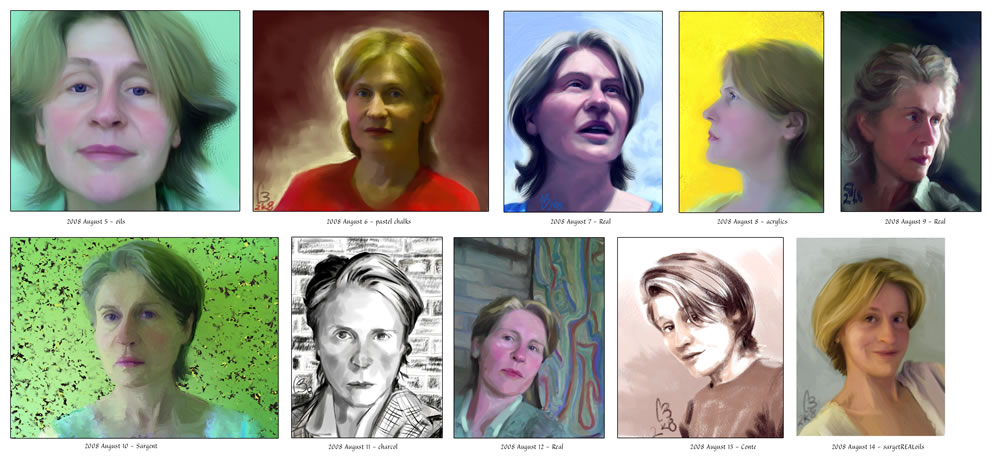
Below are several self portraits I did over 2 weeks this month. They incorporate different brush families in Painter: Oils, Acrylics, Chalk, Pastel, Conte, Charcol etc.
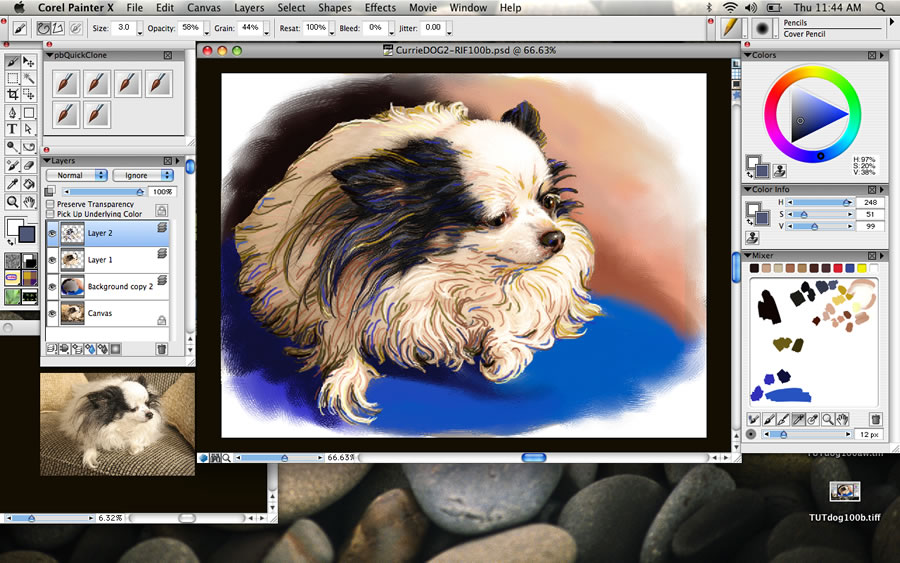
You probably have an original file about 8x10 inches at 300dpi. This process will work with most document sizes. Save the 300dpi image for the future though and reduce the file size to 100dpi by un-checking the Constrain File Size box and selecting inches, centimeters - anything but pixels in the Resize dialoge. I did most of the painting at this size to maximize the bristle strokes.
Mask out the subject of the portrait, in this case a black and white doggie on an uninteresting background. Isolate the subject on a separate layer. Study the picture. Most photos need cropping so I did that first . Already it looked better but the dog looked pretty colorless. To find the best colors, I made 2 background layers under the dog - one black and one white. This way I could look at the edges, where the dog met the background and decide whether a dark or light setting helped with each area.

To decide the background color, the vision of a royal blue cushion jumped into my mind and insisted so that was my base. For the other colors, I sampled the whites and blacks of the dog because mostly I would clone the original colors. I found a lot of yellow in both the black and white. What appealed to me was the pink in the white fur. Arbitrarily, I wanted blue to enrich the black and tie in the cushion. To add spirit and give more scope as the artist add color to the subject. I started a new Mixer Pad recording original colors and intensified that I wanted to see in the painting. This when it starts to get fun! I used the small digital airbrush to draw lines on a new layer above, trying out colors, choosing the most pleasing and daubing them on the Mixer. You can use any opaque drawing tool you favor: Scratchboard Pen or Cover Pencil are fine too. I kept a small reference of the original photo open so I won't stray too far from the likeness. And remember, thanks to Painter's cloning, you can always bring back the original so be daring! Bear color temperature in mind. (Ref .previous article from Painter Mag) EXPERIMENT and take time here. Zoom in and out. When a color works, save it on your pad. Don't forget to save the Mixer Pad (not the Mixer Colors)! Along the way, I made the background with broad smeary bristle strokes of color.
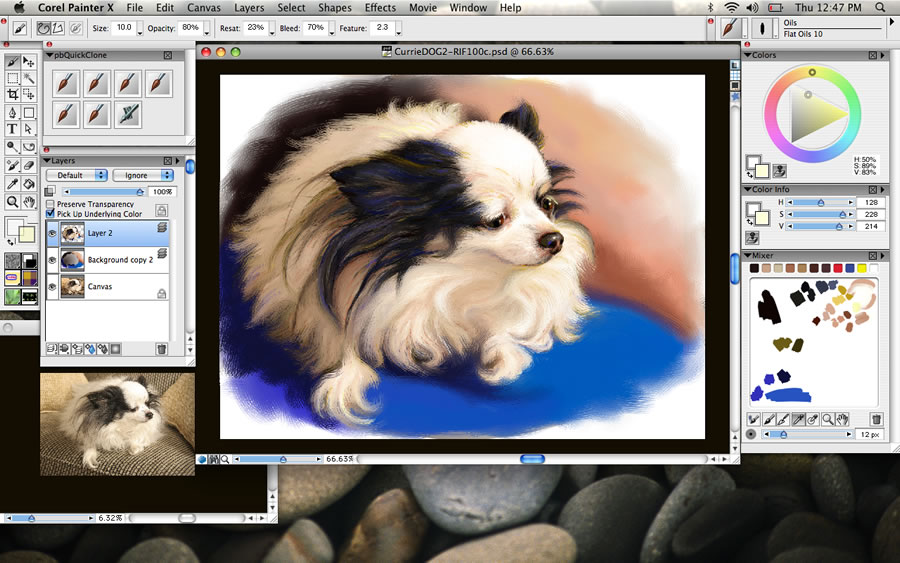
When you've played out your fantasies, save the file and then save again with another name as the next step is way too much fun and you may want to save a few variations by departing from the previous step. Set clone color to source the same image as we are painting. That way, any smeary brush we use we can turn into a blender. All you do is press "U" to toggle clone color on and off. Take license. Emphasize what you see - the art and essence of the individual. Shape the dog in the light - you have the palette now.
I started with the Oils> Smeary Round at the default size of around 30 but toggled clone color on and off selecting my Mixer Pad colors or Clone Color to blend the background. For the Doggie, I switched to the same brush at a size of 10 to produce fine hairy strokes of bold color on dog. In this way, I can "sculpt" the doggie while adding expression with color and bristle strokes. Hours of entertainment! Actually, however, this process is very fast and loose, pulling the color you want into the one you want to minimize. Be sure to select "Pick Up Underlaying Color" in the Layers Panel. We are still working at 100dpi - most computer systems handle the calculations well at that size.
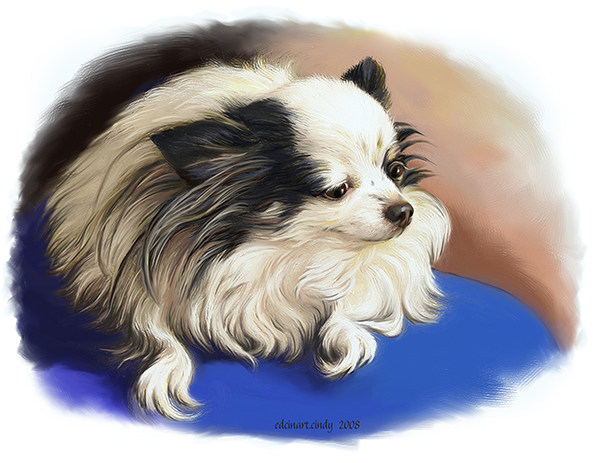
At this point your individual style can really take over. You can see what you are making and use the photo as a reference rather than a source. Your finished work will be more colorful, more evocative and really show you've put your heart out there. Remember, thanks to Painter, you can always swithch clone color and bring back some of the original image. Another day - this would be a totally different painting! |
 |